
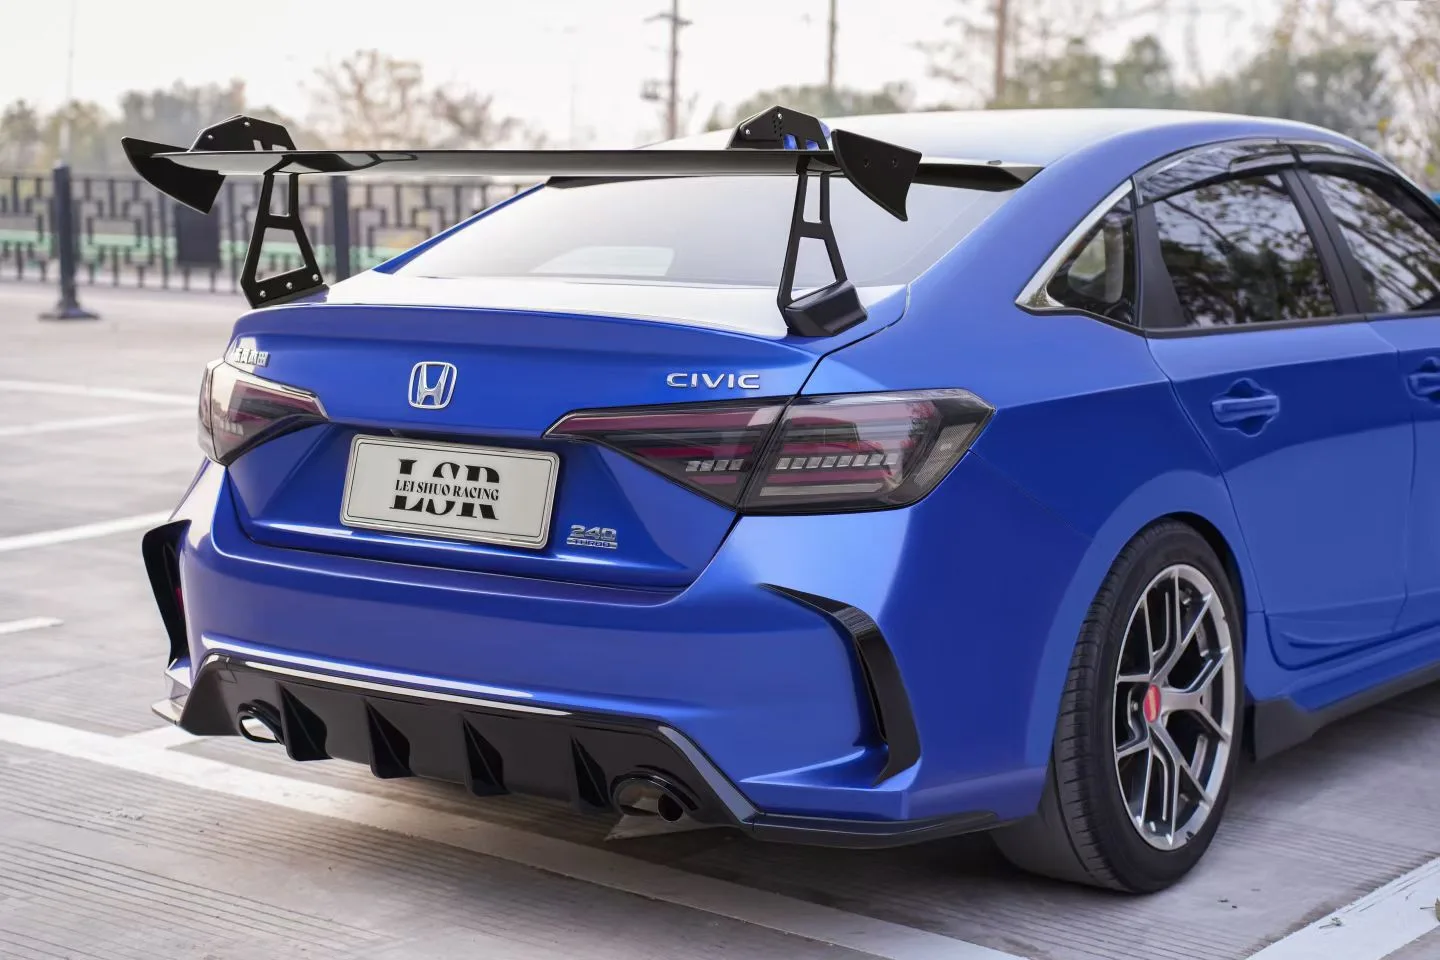
Installing a rear spoiler takes about 60 minutes for most people, though this time may vary slightly depending on your experience level and whether your spoiler comes with an integrated LED light. You will need a drill with matching drill bits, a Phillips screwdriver, a measuring tape, a fine-tip marker, a soft lint-free clean cloth, masking tape, and isopropyl alcohol for surface preparation.
- Wipe down the trunk lid surface thoroughly with the clean cloth and alcohol to remove dust, wax, grease and dirt. A perfectly clean surface helps with alignment and prevents scratches during fitting.
- Place the spoiler gently onto the trunk lid for a dry test-fit. Slide it left and right to check symmetry against the trunk edge and body lines. Once centered and level, mark the exact drilling points with your marker.
- Apply masking tape over the surrounding paint around each marked spot to protect the factory finish from drill slip and metal shavings. Carefully drill holes at your marked positions, then brush or blow away all metal debris and plastic fragments.
- Line up the spoiler’s pre-cut mounting holes precisely with the freshly drilled holes on the trunk lid. Double-check centering one last time before proceeding.
- Insert the supplied fixing screws by hand first, then tighten them evenly in a crisscross pattern. Do not over-tighten, as this can warp the spoiler or dent the trunk panel.
- If your spoiler is equipped with an LED brake light, carefully route the wiring harness through the trunk cavity. Connect the wires to the rear fog light or brake light circuit following the wiring diagram, and secure loose wires with cable ties to avoid rattling.
Take your time marking holes — accurate positioning before drilling ensures clean, solid installation, reduces the risk of misaligned or ugly holes, and helps your spoiler sit straight and securely for long-term use.